



Today, Nicky Laatz, one of our most popular shop owners, will walk you through the process of creating a MacBook Pro mockup that you could easily sell right here at Creative Market. Even if you’re brand new to Photoshop, the process will be easy enough for you to follow along. Let’s get started!
Things You Need
- A decent point and shoot camera
- Adobe Photoshop CS5 or higher
- A MacBook (or laptop of your choice)
Getting a Decent Photo
I’m by no means a photography expert, but I’ve learned a few things that are instant killers for photos:
- Bad lighting (the room is too dark,with little natural lighting). Don’t even think about using your flash unless you’re a seasoned professional. Natural light is much easier for beginners to work with.
- Distracting background objects
- Thinking you will get a good shot with only 4 snaps
Give your setup a little thought before you shoot and it’ll make a huge difference in the quality of the end result.
Lighting
You need to set up your laptop in a well naturally lit area. Pick a spot close to a window for good natural light.
Setting the Scene
Look through your viewfinder, what do you see in the picture? Is there a laundry basket lingering in the distance? Move it. You can even stick in something that will add interest to the shot (coffee mugs seem popular for example).
Snap Away Madly
Get as many shots as you can, from as many different angles and zooms as you can.
(Tip: make sure your screen is lit up and on. Sometimes, if your laptop is off and the lighting is off, you won’t be able to see where the corners of the screen are naturally when editing later.)
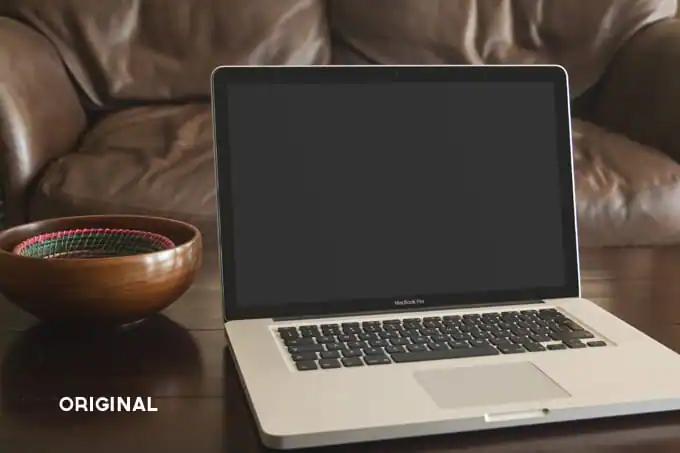
Editing
Once you have transferred all your photos onto your computer, use your favorite preview software to go through the photos, and select the best one. Open it up in Photoshop (now the fun begins) and apply your favorite filter. You can find a huge selection of Photoshop filter actions on Creative Market.
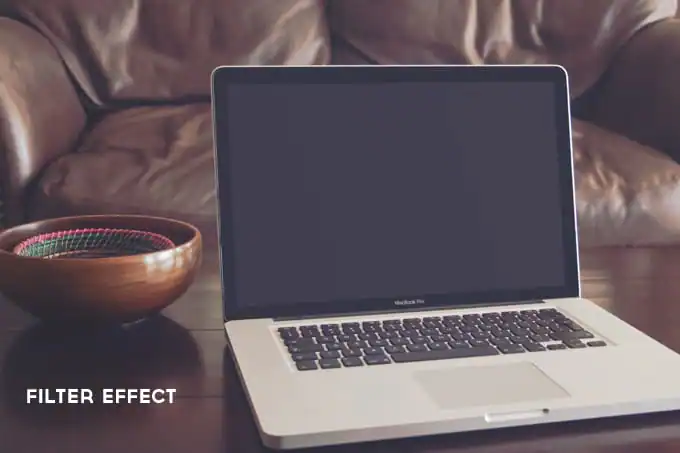 Apply the filter to your photo in Photoshop. If new layers are created by the end of the action, don’t flatten the PSD, rather group the filter effects into a folder, for the last steps. Ideally, you’d like your photo on the background layer, and your filter as a layer or group above that if possible. If the action flattens the PSD, don’t worry, instructions are below.
Create Your Editable Screen
- Create a new layer above your photo layer in the Layers panel, name it something like “screen”.
- Select the Rectangle Tool (U), draw a rectangle that looks roughly the same dimensions as the screen in your photo (it doesn’t have to be exact, but try match the dimensions visually).
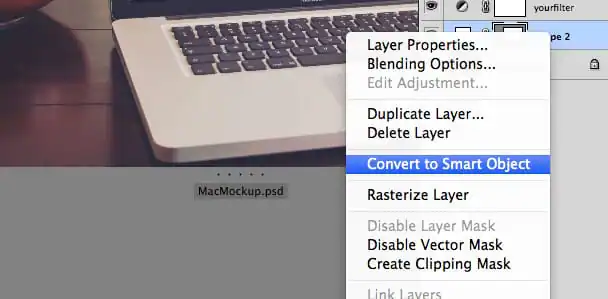
- Right click on the new rectangle shape layer, and select Convert to Smart Object. The rectangle you drew is now a smart object. Now we need to make this rectangle fit the laptop screen.
- From the top menu bar select Edit>Transform>Distort.
- One by one, drag each corner handle to the corresponding corners on the laptop screen, zoom up close if you can’t see exactly where the corners are.
- Hit Enter to commit the transform when you are happy.
- If you are not 100% happy, you can still go Edit>Transform>Distort to make small adjustments.
Edit the Contents of Your Screen
- Double click on the smart object “screen” layer in the Layers panel. Click OK in the popup, and it should open up a new window with your previously made rectangle in it. You can now put the contents of your screen here and click save. Close the window.
- Now you are back to your original photo PSD, and your custom screen will be perfectly in place.

Now all that’s left is to make sure the screen looks like it’s part of the same photo, and not a fake foreign layer just stuck on as an afterthought. There are two things you can do to achieve this: 1. Make sure the lighting looks right (light and shadow). 2. Make sure that it blends in with the filter effect. 

How to Add Lighting
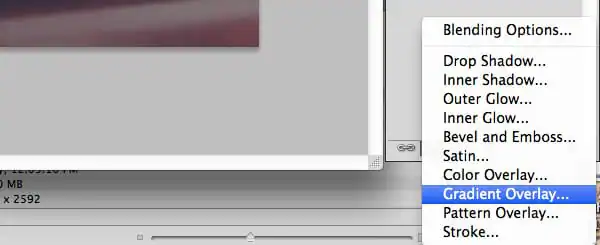
Make sure the screen layer is highlighted. At the bottom of the Layers panel, click on the fx icon, this will bring up a menu.
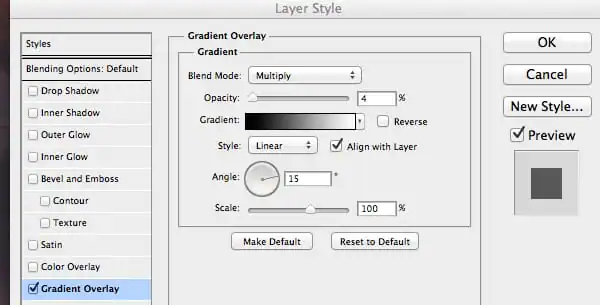
- Select Gradient Overlay. The layer style panel will pop up.
- The preset gradient should be from black to white, which is what we need so don’t change that. Just set the blend mode to Multiply.
- Adjust the angle of the gradient so that the dark side is on the part of the screen further from the window, and the white is on the part closest to the window. You can check the preview box to see what that changes are looking like on your screen as you tweak the number of the angle.
- Reduce the opacity right down to about 4%, more if your photo is darker.
- Click OK when you are happy with how it looks.


Match Filter Coloring
If you are fortunate enough to have purchased a filter action that creates a folder layer just above the original photograph layer, you can just sandwich your screen layer in between the two. Have your photo at the bottom layer, your screen on the next layer, and your filter folder on top. That way your screen will take on the same filter action look.
If not, you can always add an adjustment layer, and fiddle and tweak the brightness/levels curves until it doesn’t look as foreign against the background. If you are not intending to sell the mockup (layered ), it would be far simpler to first get your custom screen in place, flatten the PSD, and then apply the filter to the one layer, and you are ready to go.

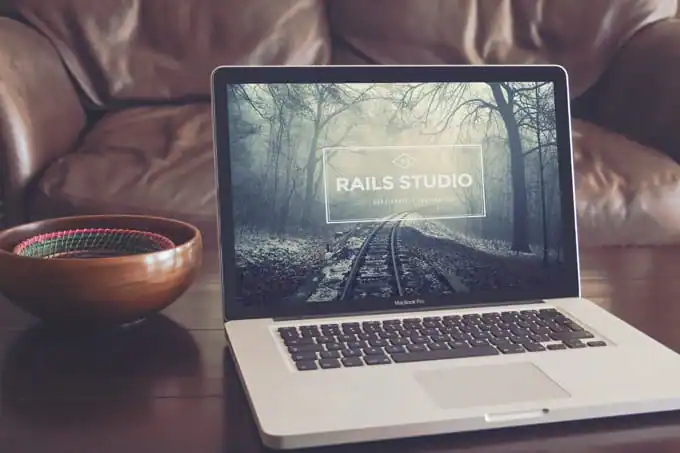
Great MacBook Mockup Examples on Creative Market


If you’re not too excited about going through this process yourself, there are lots of great products on Creative Market that will save you the trouble. Typically, all you have to do is double click the Smart Object layer, drop in your screen artwork, and you’re ready to go.
Nicky Laatz has her own shop here on Creative Market, be sure to drop by to see some of her hand-crafted goods.
Download these worksheets and start practicing with simple instructions and tracing exercises.
Download now!






Just love making pretty things :) Might as well earn some beans while I'm doing it :) Feel free to email me with any of your questions! nicky@nickylaatz.com Find a bunch of free goodies and limited-time specials on my website nickylaatz.com.
View More Posts



18 Comments