



Design and technology are getting more and more refined, allowing graphic designers to streamline and speed up their process. However, people are still enamored with handmade art, lettering and illustration. I have deep respect for those fantastic artists who can create beautiful works with a pen, pencil, brush, or piece of chalk. To me, handmade art is both appealing and inspiring.
As a result of our fascination with handmade art and lettering, there are many fonts on the market that come ready-made with a handmade look that can provide a fun, easy, and attractive way to “hand-letter” our designs. Today I’m going to demonstrate a quick and easy way to make any typed lettering look handmade in Adobe Illustrator. Thanks for following along!
What you’ll need:
- Basic to intermediate knowledge of Adobe Illustrator (I’ll be designing in CS4.)
- Any fun font of your choice. I don’t recommend choosing a font with lots and lots of detail.
We’ll be creating the effect on the word “PEACE.”

- Create a new document in Illustrator.
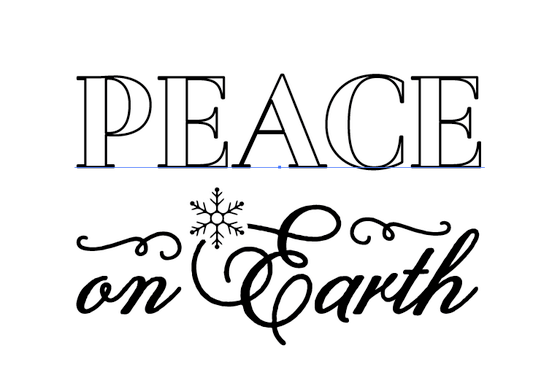
- Pick a font and create your lettering. I’m going to be creating a holiday card, and I’ve used two different fonts that I want to match more:

The lovely Melany Lane is a delightful script, subtly artisanal, but the other font, Otama, is decidedly clean-cut. I’d like it to take on a more rustic appearance.
- Use the tool palette to remove both fill and stroke from the lettering.

You can’t see the lettering anymore, and your appearance palette looks like this:
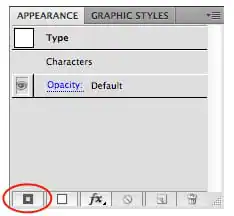
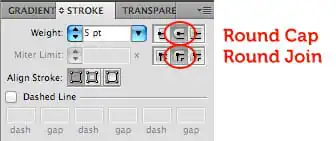
- On the bottom left of the appearance palette, click “Add New Stroke.” I’m going to make my stroke a nice, healthy, rounded 5 points.
You can control stroke settings easily by using the stroke palette.
- With the stroke selected on the appearance palette, I’m now going to roughen the lettering a little bit by going to Effect > Distort & Transform > Roughen. Here are the settings I used:
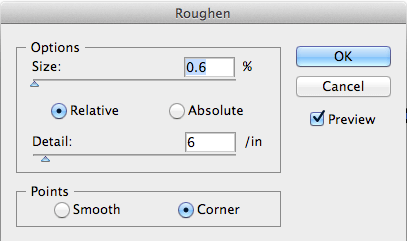
Play around until you’ve got an effect you’re excited about.
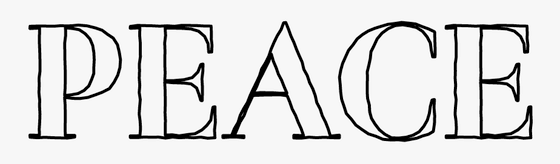
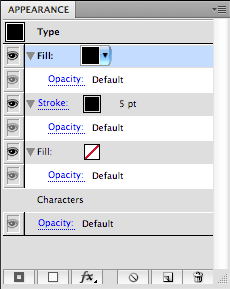
- Great! Now, we’re going to use the appearance palette to add a fill to our lettering. The “add new fill” button is right next to the “add new stroke” button. Now the appearance palette looks like this:
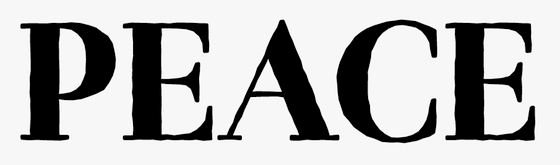
Honestly, your lettering would look amazing if it were left as it is now. However, I’m going to take it a bit further and create a scribbled effect to make it look more authentically handmade.
- With your new fill selected in the appearance palette, apply a scribble effect by going to Effect > Stylize > Scribble. Here are the settings I used:
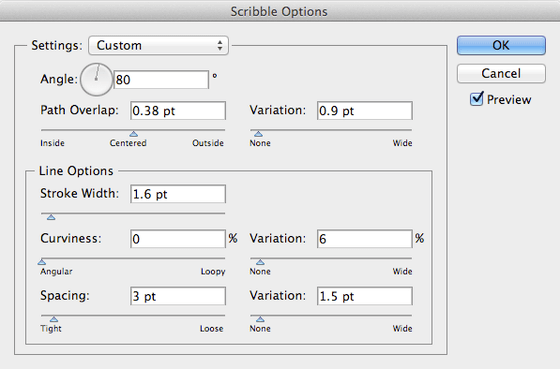
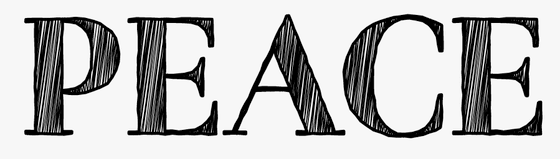
- I’m now going to put the last finishing touch on my lettering. In the appearance palette, I’m going to duplicate the fill I just scribbled by choosing the “Duplicate Selected Item” button on the bottom.
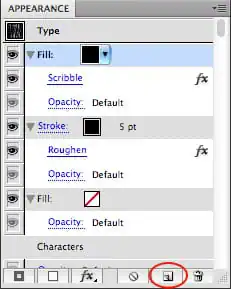
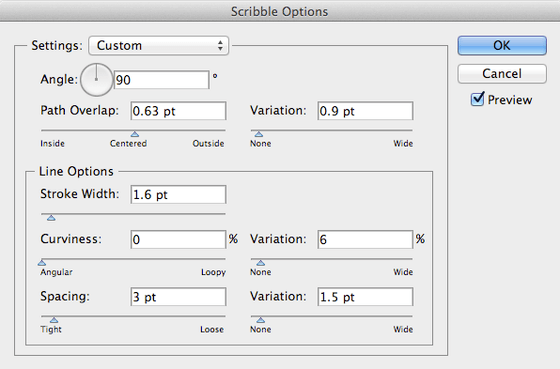
- Now I’ve got two of the same scribbled fills. On the top one, I’ll click “Scribble” to edit the effect. I’m going to change the angle of the scribble effect very slightly (10 degrees or less) to achieve a more authentic colored in look. Here are my settings:
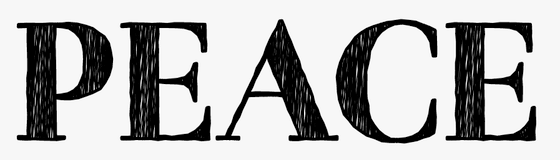
- Wow! It looks great, and it’s even editable! I can change colors, effects, stroke weights, and more, all from the appearance palette. I can even change my lettering. I’m so excited about this effect that I’m going to save it as a graphic style so I can use it for future projects.
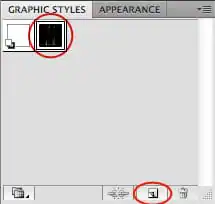
You’ve just created a fantastic hand drawn effect. Thanks for following along! I hope you have a great holiday season.

Beth Rufener, the shop owner of Ornaments of Grace, is a wife, mom of two, graphic designer, amateur photographer, aspiring foodie, occasional musician, and avid collector of fonts. She and her family live outside of Rittman, Ohio.
Download these worksheets and start practicing with simple instructions and tracing exercises.
Download now!









29 Comments