


If you’ve ever wanted to turn your art into something physical, quick, and totally portable, this is it. In this tutorial, we’re showing you how to make a 16-page zine from a single sheet of paper. The final result has that perfectly imperfect, tactile feel that zines are known for, packed with personality and lo-fi energy. Think: DIY charm, analog-style type, gingham backdrops, sticker-style cutouts, layered scans, and hand-drawn doodles. It’s part nostalgic, part punk, all fun.
This is the kind of project that doesn’t need to be polished to be good. If you’ve got art, textures, and a free afternoon, you’re good to go.
What You’ll Need for Graphic Design
- One 11 × 17 in sheet of paper (light cover or text weight)
- Craft knife or scissors
- Ruler + cutting mat
- Bone folder or anything with a smooth edge (like a spoon)
- Adobe Illustrator, InDesign, or Figma
- Your collage assets: scanned textures, stickers, photos, scribbles, fonts, etc.
Think of this as a small graphic design exercise: good zines combine visual and textual elements to convey messages.
For beginners, mastering core design principles is a good start, especially typography, color theory, layout, and composition.
Step 1: Set Your File Up
Create a new Illustrator doc sized 17 in wide × 11 in high, CMYK, 300 DPI. Add 0.125 in bleed on all sides so your design goes edge-to-edge when trimmed. Inside that, keep your actual content in a 10.5 × 16.5 in safe zone to avoid accidental trims on key info like page numbers or faces. Using guides is a simple way to build a more visually structured form, and a successful design is often simple, symmetrical, and clearly structured.
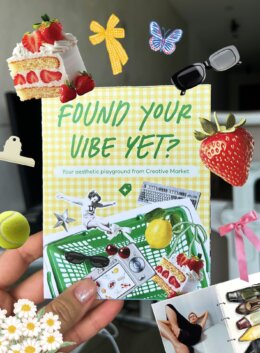
The yellow gingham background in the reference layout gives it a handmade, cozy feel, perfect for a nostalgic zine format. You can build a similar vibe using scanned paper textures or a repeating pattern fill in Illustrator, and a clear grid or structured design system can help designers keep the composition balanced, organized, and improve layout quality.
Step 2: Fold Your Page into 8 Sections (Digitally)
Each zine page = 4.125 × 5.25 in. Add guides at:
- Vertical: 4.125, 8.25, 12.375 in
- Horizontal: 5.25 in
This gives you four columns and two rows: eight panels per side of the sheet. Keep a consistent margin system in each panel to keep everything feeling organized, even with mixed-media layouts. Good typography uses different font sizes to create a clear hierarchy, highlight key text, and improve readability. Keep text to one to two lines per panel where possible, and stick to two to three different fonts for consistency.
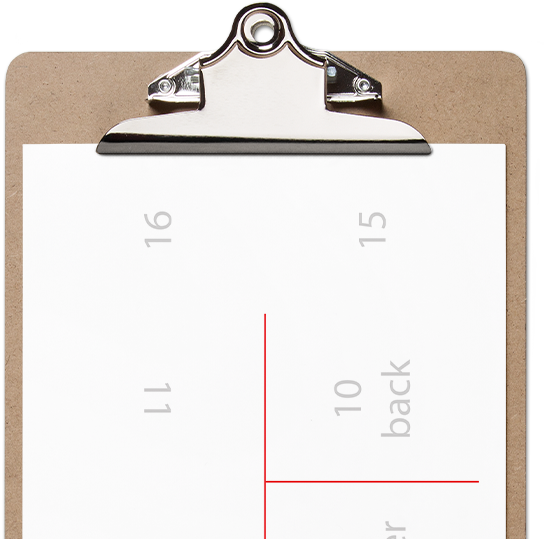
Download these free .PDF and .AI templates and create your own zine.
Get the filesStep 3: Use the Imposition Map
Because you’re printing flat and folding into a booklet, pages need to be arranged out of order. Here’s how:
Side A (front of sheet)
- Top row (rotated 180°): 14 | 12 | 11 | 16
- Bottom row (upright): 13 | 1 (cover) | 10 (back) | 15
Side B (back of sheet)
- Top row (rotated 180°): 7 | 6 | 5 | 4
- Bottom row (upright): 8 | 9 | 2 | 3
Rotate the top row panels 180°, they’ll flip back into place when folded. This part takes a little brain math, but once you see it come together, it’s satisfying.
Step 4: Drop In Your Art and Use White Space
Go full collage mode, but even the most creative pages work better when you avoid a bunch of competing colors. In the example, there’s a mix of:
- Cutout-style vintage images
- Type-driven pages with green marker-style headings
- Checkered and pastel backgrounds
- Layered scans of computer parts and old-school phones for Y2K-core vibes
- Strawberries, tennis rackets, heart doodles, and more sticker-style illustrations
Choosing two to three main colors is beneficial for consistency, and keeping the total palette under five helps clarity while adding a bit of brand focus.
Use bleed when elements go to the edge and keep key stuff inside the 10.5 × 16.5 in safe zone. Color theory matters because colors mix to create moods and influence perception. Use contrast in color or scale to highlight the point of a page, enhance text visibility, and improve readability. If a page is on a rotated row, rotate your layout 180° too.
Use Illustrator’s Layers panel to keep rotated art separate if that helps with visualizing.
Step 5: Score and Fold the Sheet
Before printing the final, print a numbered test sheet first. Sketch page ideas on paper to figure out the flow before refining digitally.
With the page in landscape:
- Fold it horizontally across the center
- Fold along each vertical line (like an accordion)
- Reinforce folds using a bone folder or edge of a spoon
Clean folds matter here: they’ll help with final assembly and page alignment. Keeping a sketchbook and making a few quick variations is useful practice, since iterating often turns early ideas into stronger concepts.
Step 6: Cut the Center T-Slit
Flip your sheet landscape. Along the middle vertical fold, cut a slit from the bottom to the horizontal center line. This creates a “T” when folded that allows the sheet to collapse into a booklet.
Use a metal ruler to keep the cut clean and stop right at the center line.
Step 7: Fold it Into a Book
This is where it clicks. Start at Page 1, then gently press the T-shaped cut open and collapse the folds into each other. Flatten the whole thing into a booklet and pinch the spine.
It works. You just made a 16-page zine from one piece of paper!
Make It Yours: Tips for Non Designers
Want to lean vintage? Try scrapbook textures, black-and-white photos, and hand lettering. Want a more maximalist feel? Fill the panels with color blocks, stickers, and repeat type. For extra inspiration, look beyond design to everyday objects, print ephemera, or personal collections to spark creativity.
You can even use it as:
- A moodboard
- A mini portfolio
- A visual diary
- A handmade promo piece
Share a post or mockup with a design community to get feedback, sharpen your graphic design skills, and build confidence explaining your choices, especially if you’re one of many graphic designers presenting work.
Once folded, the zine fits in your pocket, perfect for IRL sharing or scanning and posting digitally.
Final Thoughts and Design Ideas
The aesthetic here is all about collage and character, and working within limits like one sheet of paper and a small set of tools can boost creativity and teach useful techniques. It’s not meant to look perfect. The charm is in the layers, the texture, and the physical folds. Improving graphic design skills takes technical mastery and consistent practice, and recreating strong layouts is one of the best resources for learning. Use that to your advantage.
Use white space, or negative space, so the page has room to breathe, contrast stays clear, and key graphics attract more attention. Templates and cohesive branding choices help create consistency across posts, support readability on a website, and make your brand easier to recognize over repeated exposure.
If you try this, tag us. We’d love to see what you make!
A zine is a self-published booklet typically created by artists, writers, designers, and hobbyists to share ideas, artwork, photography, stories, or personal projects. Zines are often printed in small batches and are known for their DIY, independent spirit.
A zine can include almost anything, including artwork, illustrations, photography, poetry, essays, comics, moodboards, journal entries, collages, interviews, or creative experiments. Many artists use zines as a way to share personal work outside traditional publishing.
A good art zine focuses on a clear theme while allowing room for experimentation. Strong visuals, interesting layouts, thoughtful typography, and a consistent creative direction can help make a zine more engaging and memorable.
Yes. Zines continue to be popular among artists, designers, writers, and creative communities. Many creators use zines to share work, build a portfolio, promote projects, or connect with audiences through physical and digital publishing.
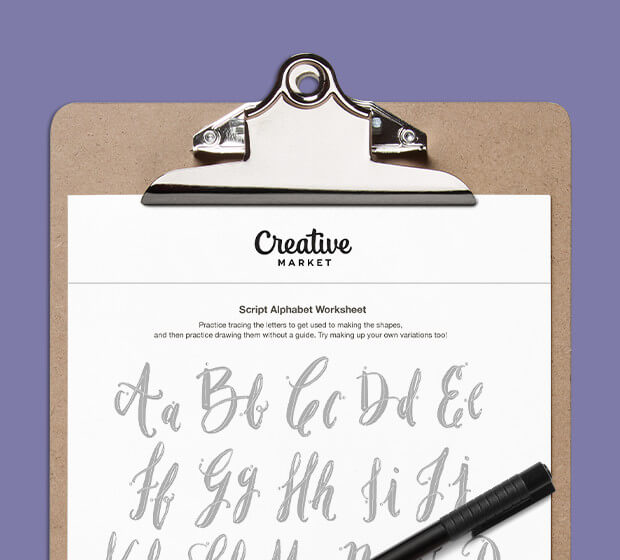
Download these worksheets and start practicing with simple instructions and tracing exercises.
Download now!



Designer at Creative Market. I truly enjoy branding, typography, packaging, layout designs, and drawing funny-looking animals.
View More Posts