
How to Create Brilliant Watercolor Invitations in Photoshop — No Paint Required!



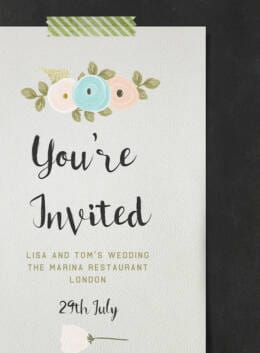
The watercolor aesthetic is on trend right now, and for good reason. There’s something light and refreshing about the pastel colors, swooshy visuals and breezy typography associated with this look. If you were hoping to create your own dazzling watercolor-inspired visuals but didn’t know where to start, this article is for you. We’ve prepared some hints:
1. Get Inspired.
Like any design process, the first step is to soak up some inspiration. It’s hard to create if you don’t know what’s out there, what’s been done before and what areas are yet to be explored. Social media is a great place to start when looking for graphics inspired by this trend. Lifestyle publisher Ms. Critique breaks up her beautiful photography with some stark, minimalist black and white watercolor typography.
 Likewise, a search on design blog, Designspiration turns up a veritable visual bouquet of breezy, brushy watercolor designs.
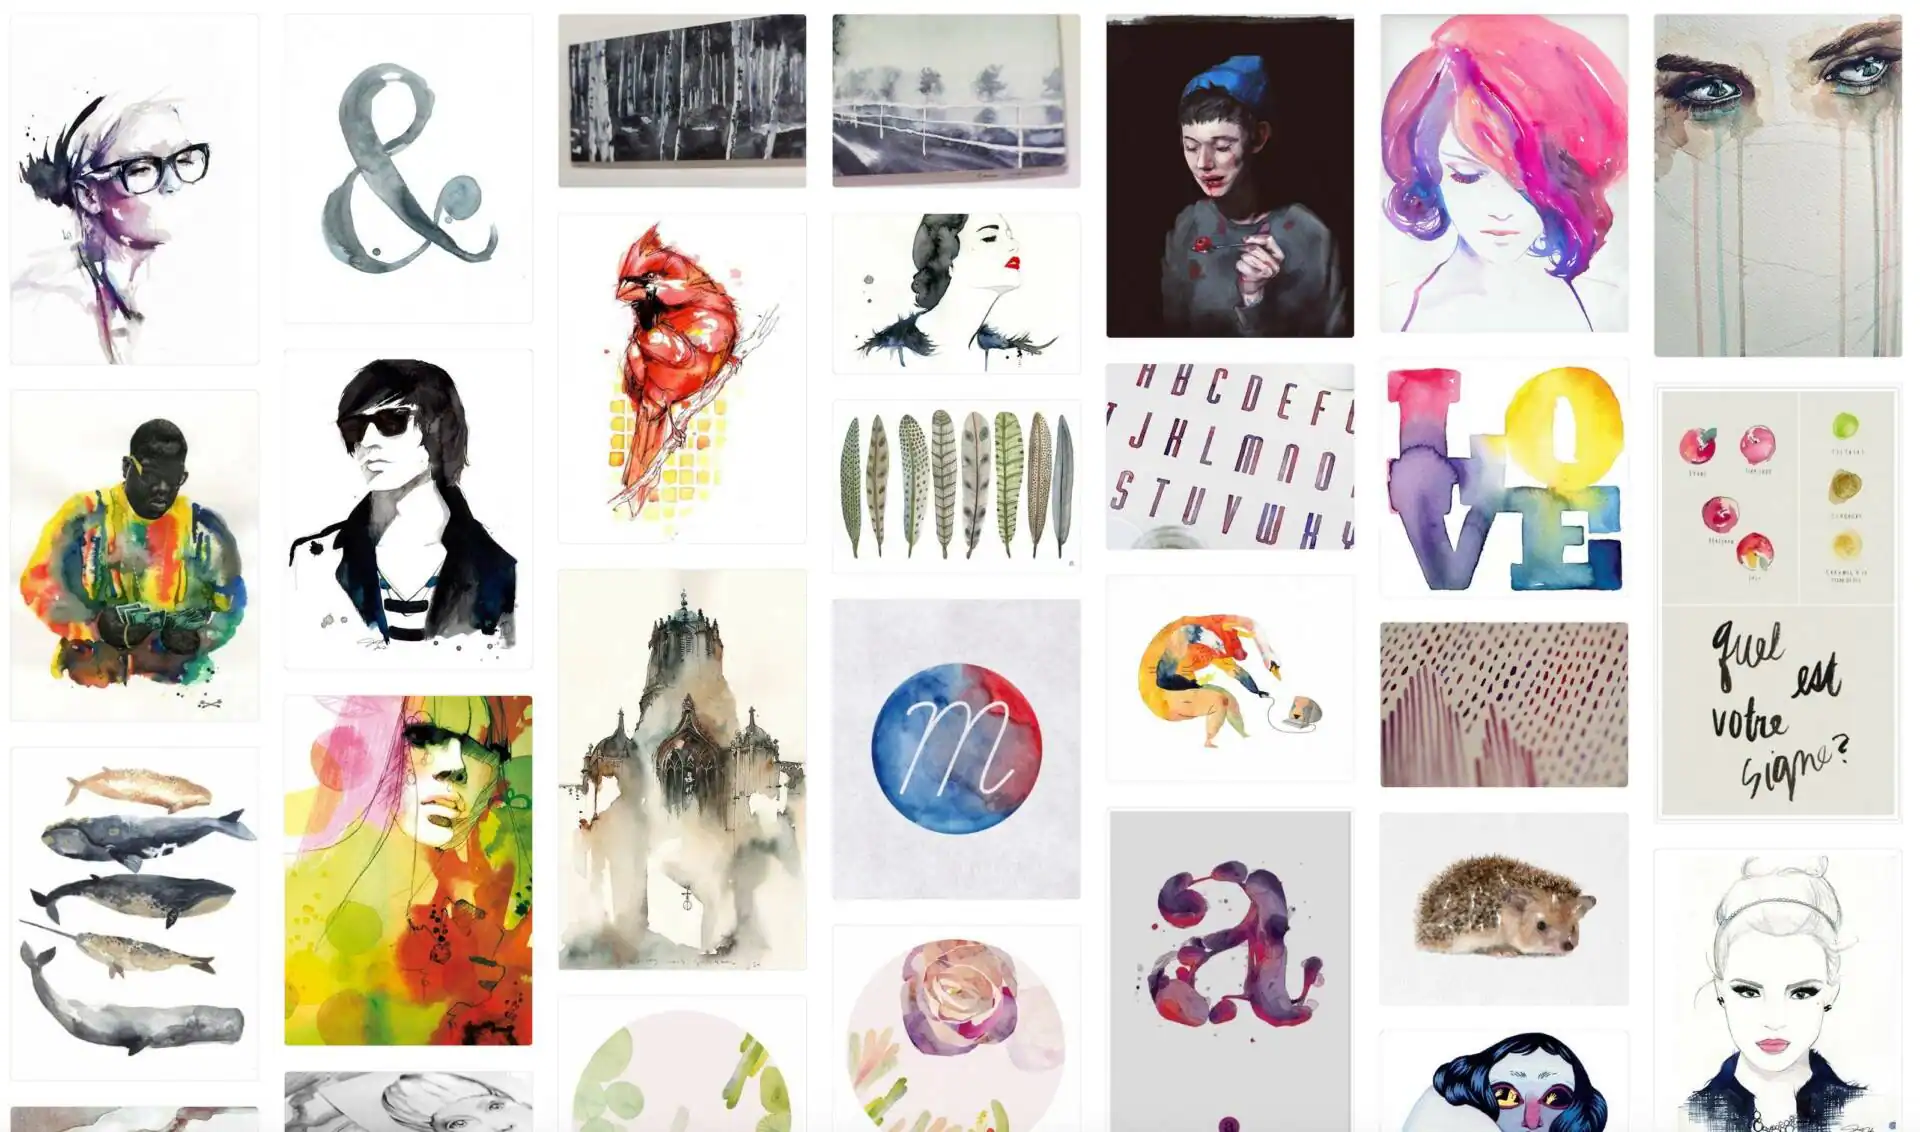 Pinterest is an excellent stop-off as well. Its multitude of inspiration boards are full of plentiful examples of watercolor designs, from the complex to the simple, and everything in between.
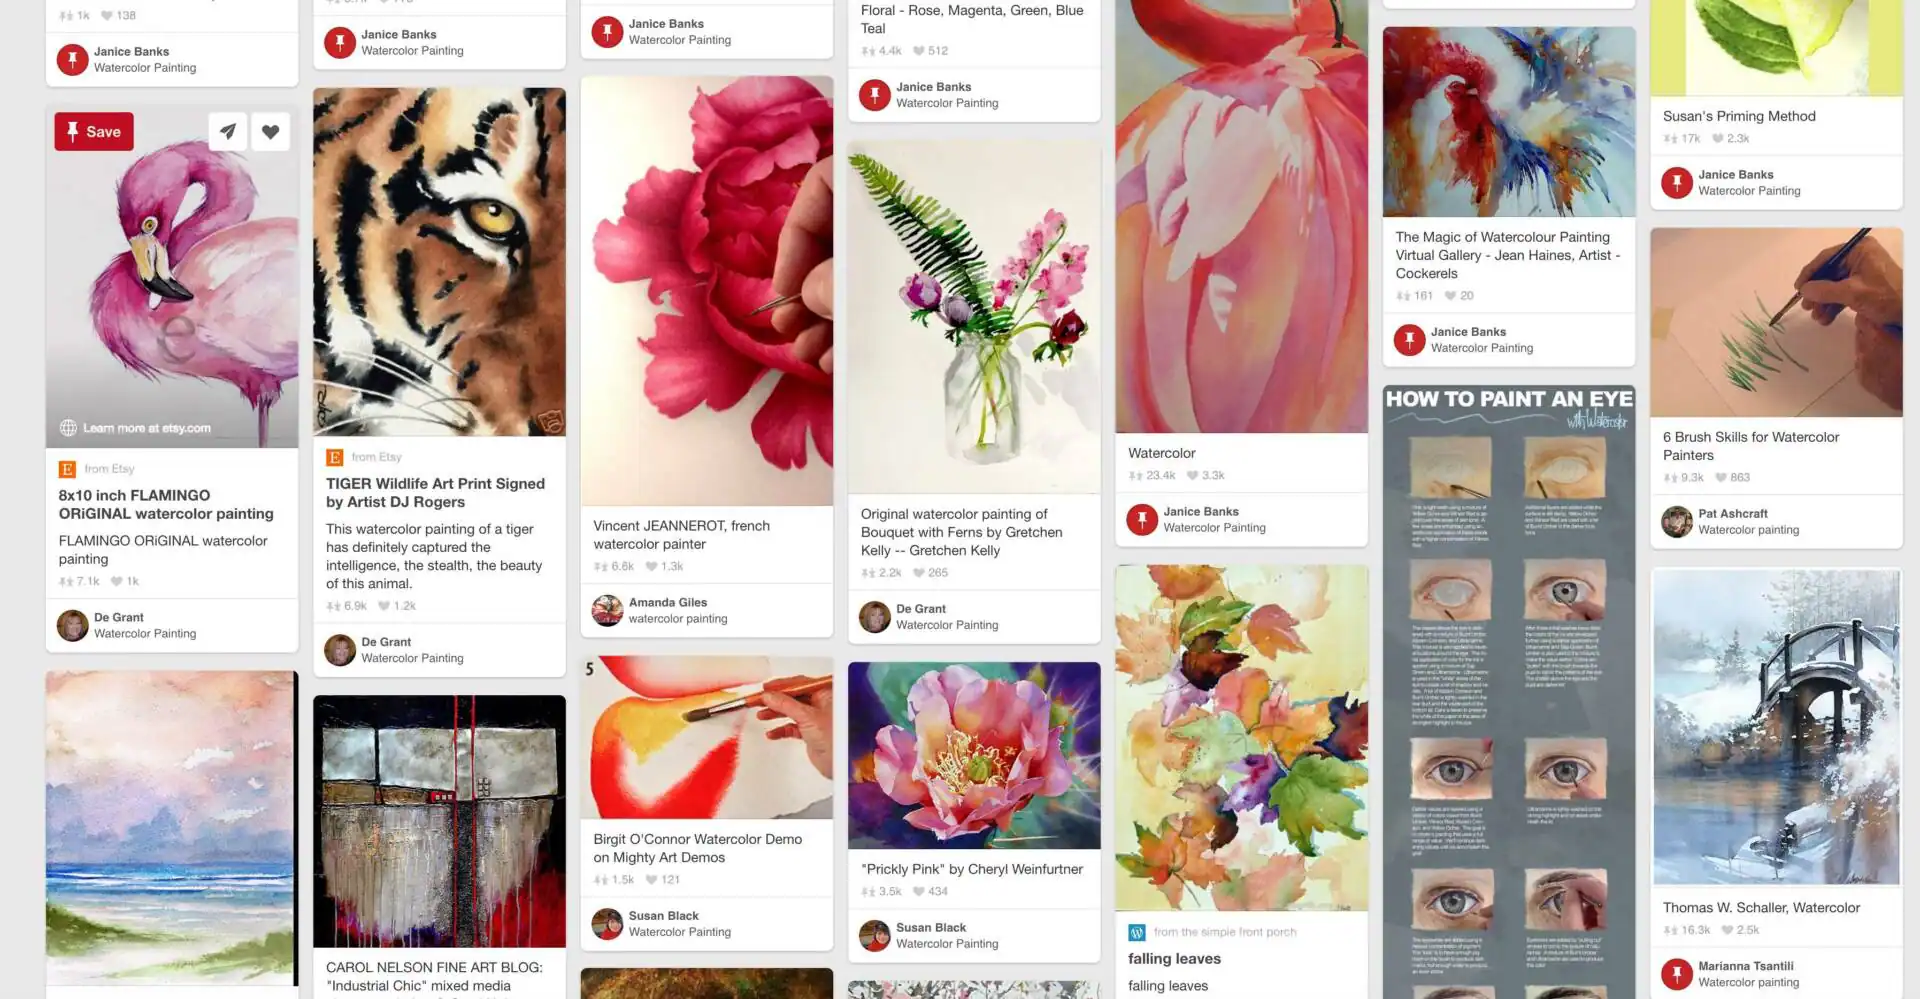 Creative Market also published an article on watercolor inspiration, tools, and effects.
2. Get Equipped.
Once you’ve gathered a few reference points on what you like (and what you don’t), it’s time to build up your arsenal of tools and techniques. A great place to started is here at Creative Market. For example, Freshmint Paperie‘s watercolor floral clipart set boasts a wide assortment of pastel print-ready graphics that can be used as an adornment or a graphic feature in their own right.
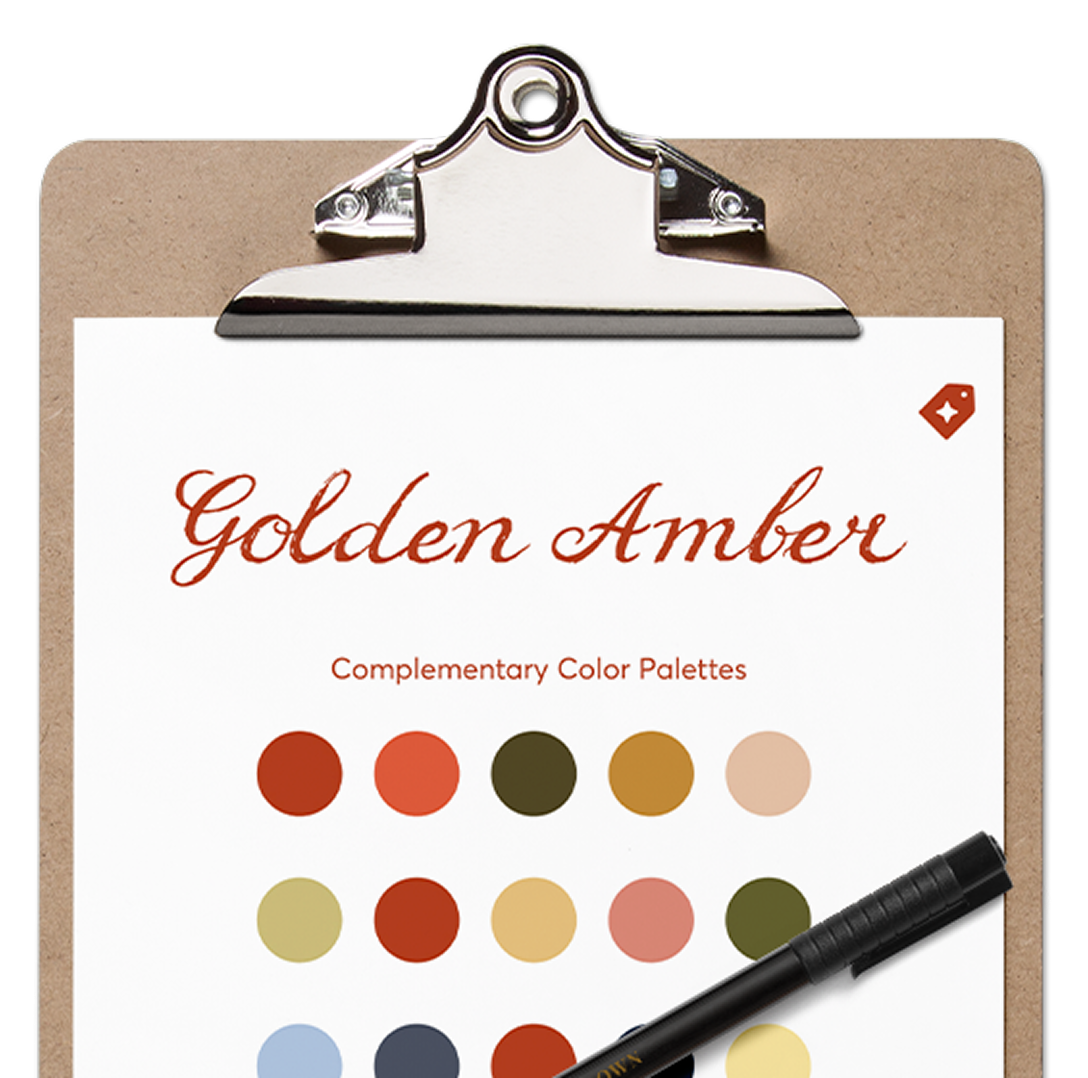
Download our set of color palettes in SVG and start using them in your favorite design app.
Download the palettesStep by Step Instructions
The first step is to create a simple, blank canvas for your work. We found this paper card texture from Photos Public Domain. A simple background like this has just enough contrast and texture to make your design on top look interesting, but won’t overpower it at the same time.
 Next step is to create a group of watercolor visuals and add it as a new layer. You can do this by getting experimental with some watercolor brushes, or by pulling in some pre-made watercolor design assets. In this case, we’ll be dropping in some floral elements:
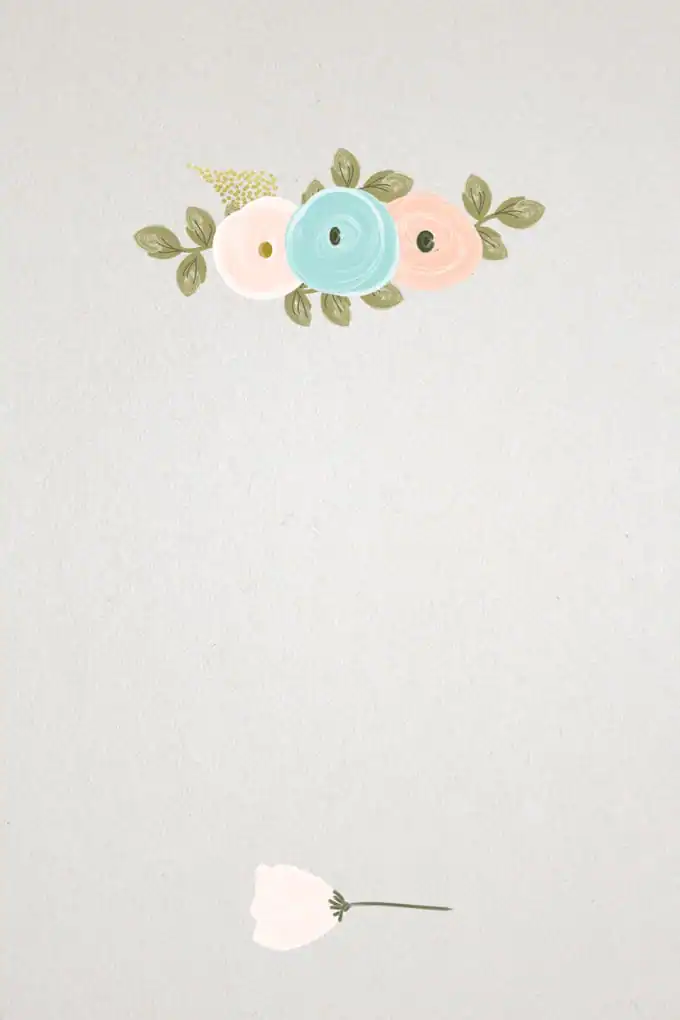 For our invitation, graphic elements will be used as flourishes rather than central design features.
Next up, we’re going to add some text for the actual wedding invitation copy. An ornate script font will work will with our watercolor aesthetic. A watercolor font generally works best as a display typeface, rather than for large amounts of body copy. Think big and bold rather than detailed:
For our invitation, graphic elements will be used as flourishes rather than central design features.
Next up, we’re going to add some text for the actual wedding invitation copy. An ornate script font will work will with our watercolor aesthetic. A watercolor font generally works best as a display typeface, rather than for large amounts of body copy. Think big and bold rather than detailed:
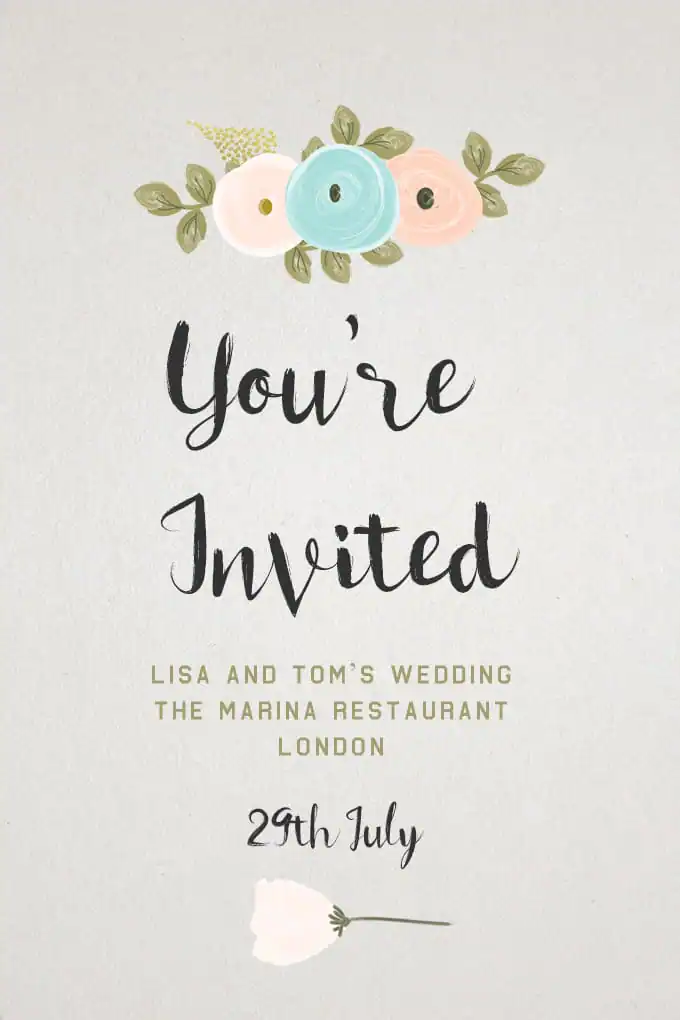 From there you can add more flourishes or experiment with different textures and colors.
3. Get Creative.
You can also check out some of our other articles on how to paint watercolor styles, or our links to other watercolor assets you might find useful. Of course, it goes without saying that if you want to do all this by hand using real watercolor paints and techniques, then by all means go ahead! Creating the watercolor look the authentic, old-fashioned way is rewarding in its own right, we just find that using digital tools is a little less messy. So there you have it, a starter guide to the colorful world of watercolor work using Photoshop (or similar software). Hopefully we’ve helped you out a little. Feel free to share your own watercolor creations or inspiration in the comments!
Products Seen In This Post:
Download these worksheets and start practicing with simple instructions and tracing exercises.
Download now!





5 Comments