


Risograph printing creates some staggeringly colorful results, along with a finished aesthetic that makes it appear deceptively simple to master. Try your hand at this printing style, and you’ll be fascinated by its output and quality.
Invented by Japan’s Riso Kagaku Corporation in 1986, the risograph itself is a brand of printer duplicators or digital duplicators. A digital duplicator is a form of printing technology designed to handle high-volume print tasks (upwards of 20 copies) with relative ease, while keeping costs down compared to offset printing equipment or toner-based copiers. This ideal balance makes it a welcome alternative for many designers, illustrators, and creatives.
There are benefits to this method beyond cost and productivity advantages. Printing with the risograph technique produces an unmistakable aesthetic that’s been described as handcrafted and simple, though memorable, all at once.
What Is Risograph Printing?
If you’ve ever heard of a mimeograph, you’re on track to understanding this process and how it works. A mimeograph is an old-fashioned duplicating machine that didn’t break the bank. It’s regarded as the forerunner to today’s laser printers, scanners, and photocopiers. It worked by pushing ink onto paper through a stencil, which is why it’s also called a stencil duplicator. By the 1960s, this technology began to peter out and was replaced with photocopying.
The most attractive benefit of using this machine was the opportunity for people to print on the cheap with a widely accessible technology. Print projects that needed only low volume were frequently commissioned, such as church bulletins, classroom materials, and office documents. An interesting tidbit is that some of the earliest forms of fanzines were printed using a mimeograph.
The method by which risograph printing works is somewhat similar to how this machine operates, but a risograph actually combines numerous processes that were usually done manually.
Think of a risograph as a copier of sorts. Like a copier, there’s a scanner table on top of the unit, where you position the original. Like a regular printer, the newest models will be able to process your digital files, too.
An original document is scanned into the digital duplicator, thereby producing a master, which is a sheet that covers the screen of the drum (more on that below). The master is created by small dots of heat placed on a thermal plate that burn voids into the master sheet; these voids then align to the image areas of the original.
The master gets wrapped around a drum: a cylinder full of one color of ink and concealed under a metal screen with small holes, and then ink is pushed through the master’s voids. Paper is fed and run flat through the printer duplicator, as the drum turns at a fast velocity to produce every image on the paper.
The master is actually a stencil, which means it functions in the same way as a silkscreen. Ink, therefore, comes out where it needs to and is stopped to prevent it from emerging where it shouldn’t. Where allowed, the ink is stamped to your paper, producing a print.
While this printing process is unique, the output from risograph printing can still be handled like any other offset-printed material. This is due to two factors:
- Real ink is involved, just like with offset printing (the inked image gets moved from a plate to a rubber blanket and then finally to your printing surface).
- Heat is not a prerequisite to fix the image onto paper (which a laser printer or a photocopier uses).
As a result, the sheets that have gone through a risograph may also be put through a laser printer after the fact (and vice versa).
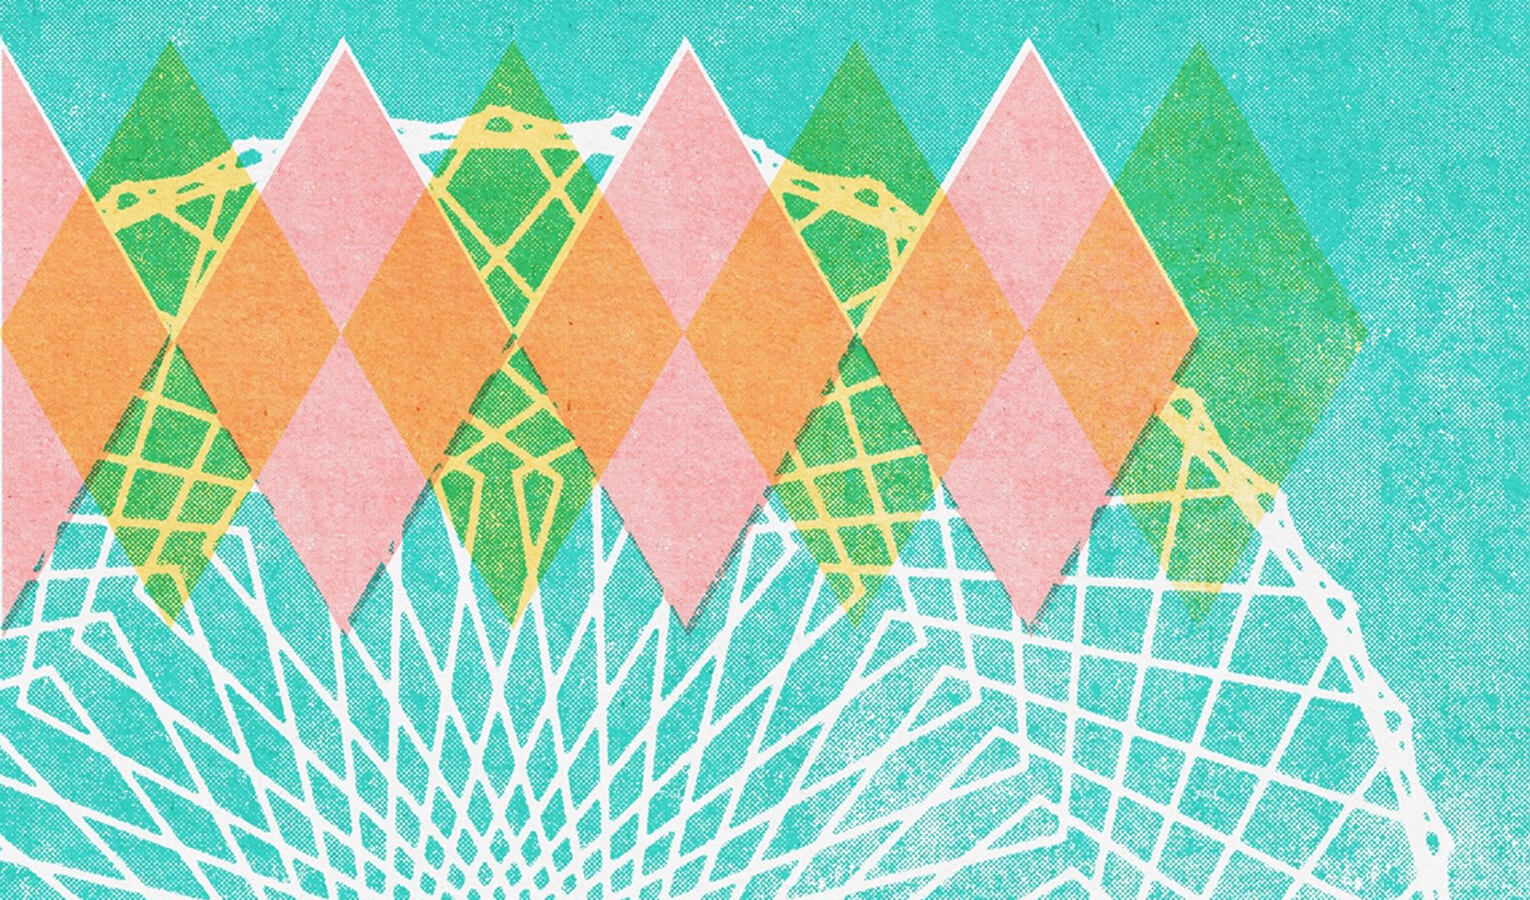
Here’s a look at graphic-design assets that further give you a better idea of the handcrafted look of this aesthetic:
In many cases, these printer duplicators come with interchangeable drums and color inks. This feature lets you print in various colors or with just one spot color for a single print project. Some duplicators even come with two ink drums; this allows you to print two colors in one go. The machine prints all your colors individually, much like screen printing. Therefore, if you wish to print with many colors, you actually have to repeat the printing process with a new drum and thereby construct your prints layer by layer.
Here’s a cool, little-known fact about printing in this way: you use soy milk. It’s true. Vegetable soybean oil is typically the ink that these digital duplicators use. However, there’s one drawback to this: all the paper stock you’re going to be working with has to be uncoated for your ink to actually dry and stay on the paper stock.
The Design Characteristics of Risograph Printing
Ask some people how they’d describe this illustrative technique, and they may have trouble articulating it. That’s understandable, given the almost children’s storybook quality of its prints. While minimalism is definitely a trademark of this technique, it’s deeper than that.
There’s a certain roughness, lack of polish, and even lack of balance in anything risograph that actually makes it quite endearing. This idiosyncratic aesthetic is what gives this design movement its charm; it’s not something you’ll see anywhere else in exactly the same way.
Together with this trait is the fact that it appears relatively simple to recreate. However, looks can be deceiving, as it takes quite some effort and practice to eventually master this technique so that your prints look the way they should.
Here are some of the key design characteristics of this movement:
- Minimalism
- Visual textures that are sometimes inconsistent or uneven
- Bold contrast and vibrant use of colors
- Asymmetry
- Handcrafted feel
- Graininess
- Overlapping objects
Overall, it’ll be quite easy to spot a print in this style when you see it, due to the constellation of its telltale features.
Have a look at yet more design assets inspired by risograph printing to better get a feel for this style’s aesthetic:
Actionable Tips for Working With Riso
Maybe you want to try your hand at something new, creatively. Perhaps you want to impress a new client. Whatever the use case may be, there’s a good chance you’ll eventually work with this technique, thanks to its accessibility, cost-efficiency, and original aesthetic.
When that day comes, you’ll want to make the most of your time with your design experiments in this process. Here’s how to do that:
- Locate a good Riso printer. You don’t necessarily have to buy new, which can get expensive. However, beware when buying used, which, although cheaper, will run the risk that your duplicator won’t have much life left in it (each machine comes with a counter of how many prints it’s done during its lifetime). Check the Riso website for information on local dealers. Alternately, print off your project for a reasonable price by taking it to your local risograph print shop.
- If you decide to go to a local print shop, learn from the experienced professionals doing the printing for you. Print with them side by side, and watch your burgeoning riso skills increase over time.
- When starting out, don’t go overboard with the number of colors you mix. Focus only on up to three colors, which is more than enough to get a sufficient “full-color†appearance. The goal is to print as few layers as possible to still get the optimal outcome.
- “Trap†your composition to eliminate any white lines in between colors. This means you should make each shape or design element a bit larger than it ought to be. Use Illustrator to incorporate a small line when working with vector images.
- Take your time. Though it sounds cliché, it applies particularly to risograph printing. Make your prints come out neat as can be by waiting in between printing off your layers. In the off chance that there’s still an ink stain on the paper, simply remove it with an eraser. Always remember that riso prints have to dry, so give them time. Carefully dry each print and then repeat the process with each subsequent color.
- Keep your colors separate when working with printer duplicators. Try separating them in the RGB or CMYK channels. Send the first colors layer to the duplicator in black and white. The black color will be 100% pure while the gray provides various intensities of your colors. Alternately, you may also utilize the copy function if you’re creating your illustrations by hand.
Risograph in Graphic Design
The bold colors, handcrafted feel, and minimalist overtones of this design movement produce memorable graphic designs that deserve to be studied up close and personal. Here are a few examples of some of the creative projects that are possible with risograph printing.
Ver esta publicación en Instagram
Ver esta publicación en Instagram
Ver esta publicación en Instagram
To get an idea of how you can set up design files for riso printing, check out this video guide by Risolve Studio:
A New Way of Looking at Print
The cool thing about riso is that it’s an acquired visual taste of sorts. Most of us are used to working with laser or inkjet printers or photocopiers, but that doesn’t have to be the norm. A risograph provides creatives with a new set of possibilities when it comes to producing everything from books and zines to illustrations and pamphlets.
If you have an eye–or just a strong preference–for handcrafted designs that exhibit a lot of care and personal touches, then it’s well worth exploring this design movement. When so much of design is too polished and perfect these days–especially in the digital realm–then risograph printing is ideal for bringing design back to its more rough-hewn and minimalist roots.
A handy PDF guide listing tools, shortcuts, and unique Procreate features.
Download it here


Marc is a copywriter and marketer who runs The Glorious Company, a marketing agency. An expert in business and marketing, he helps businesses and companies of all sizes get the most bang for their ad bucks.
View More Posts